I have been
doing and teaching Metal Embossing for about 15 years. For years I only did the
traditional techniques until I started to incorporate the use of stencils. I
was fascinated of how easy and fast it is to do beautiful projects with metal
and stencils.
Besides
making embossing easier, stencils offer an amazing variety of designs and the
freedom to place them on any part of the metal, use just one section of the
stencil or use several stencils on the same project. This for example, cannot
be done with the embossing folders that limit, among other things, the size and position of
the project to that of the folder. Embossing Folders look too perfect or "machine made"; I believe stencils offer a better chance to make your projects look more personal, beautiful and unique.

These are
the main steps to do the tin box cover using 12” x 12” TCW390 Baubles stencil and color
aluminum:

1)Place the metal on the stencil. Rub with the paper stump until you "see" the stencil's design

2)Still with the stencil under the metal, outline every part of the design using the pointy part of the double Teflon D-01 tool. This gives the entire design a nice definition.

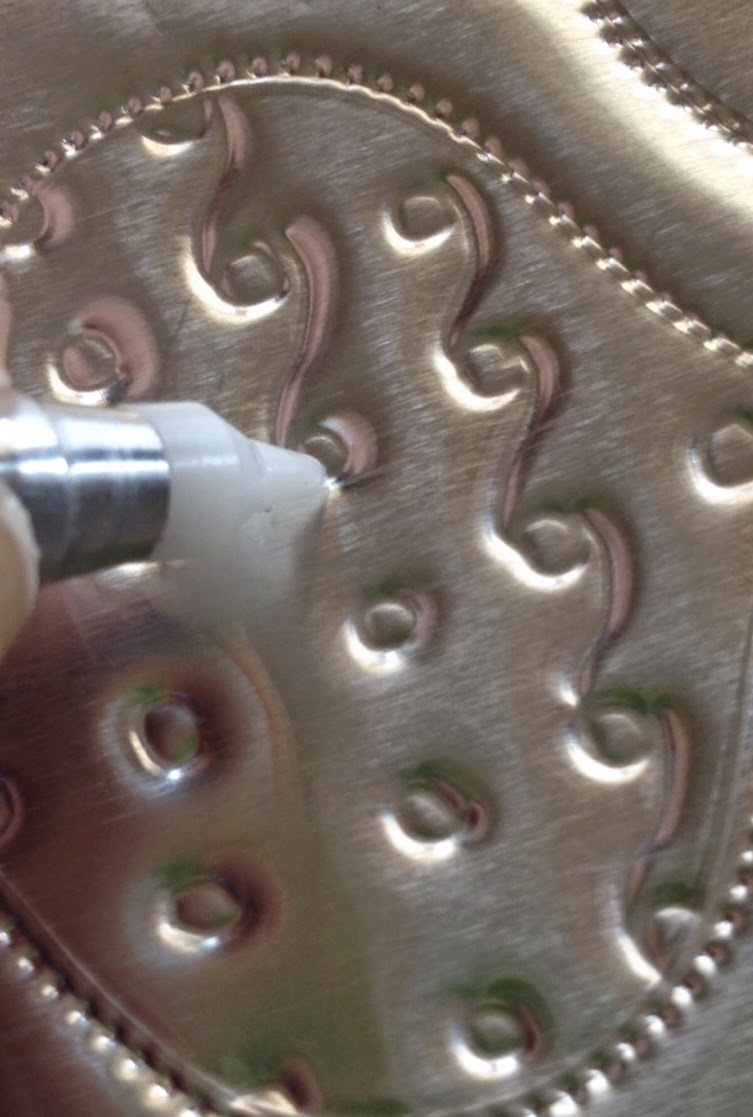


9) At the back and on the suede, push or emboss the metal on certain areas with the round sphere of the Cup and Ball tool. This will create the “puffy” look on the metal. You can also use the paper stump to push and soften the metal.

10) On the front of the metal (no suede) you can use the pointy Teflon tool to outline any shape that you have embossed from the back to give it a nicer definition.


Materials I used:
5 x 7" Tin Box
Sanding Block
MercArt's products: Grey Aluminum 5" x 7"
(Teflon D-01, Star Wheel, Refiner, Cup and Ball #4)
The Crafters's Workshop stencil: TCW390 and TCW324
Gilder's Paste: German Silver, Copper, Coral Red, Rust, Patina and Bronze
Like us on Facebook to see more ideas!